I decided to work on the Pelisse, woman's outer garment; a military inspired coat of the period between 1800 and I believe, 1830. The word Pelisse originated with fur-lined short jackets worn by the hussar light calvary soldiers. I am sure there is more to the history of its origins but as an early 19th century woman's garment it takes on different characteristics as the fashions progressed from the Grecian look of the 1790's to the Romantic look of 1830's. I based my design on several extant and yes, movie images. These are my favorites:
 |
| From the Movie 'Bright Star'. |
 |
1813 with a little capelet.
|
 |
| My basic fashion sketch of my interpretation. |
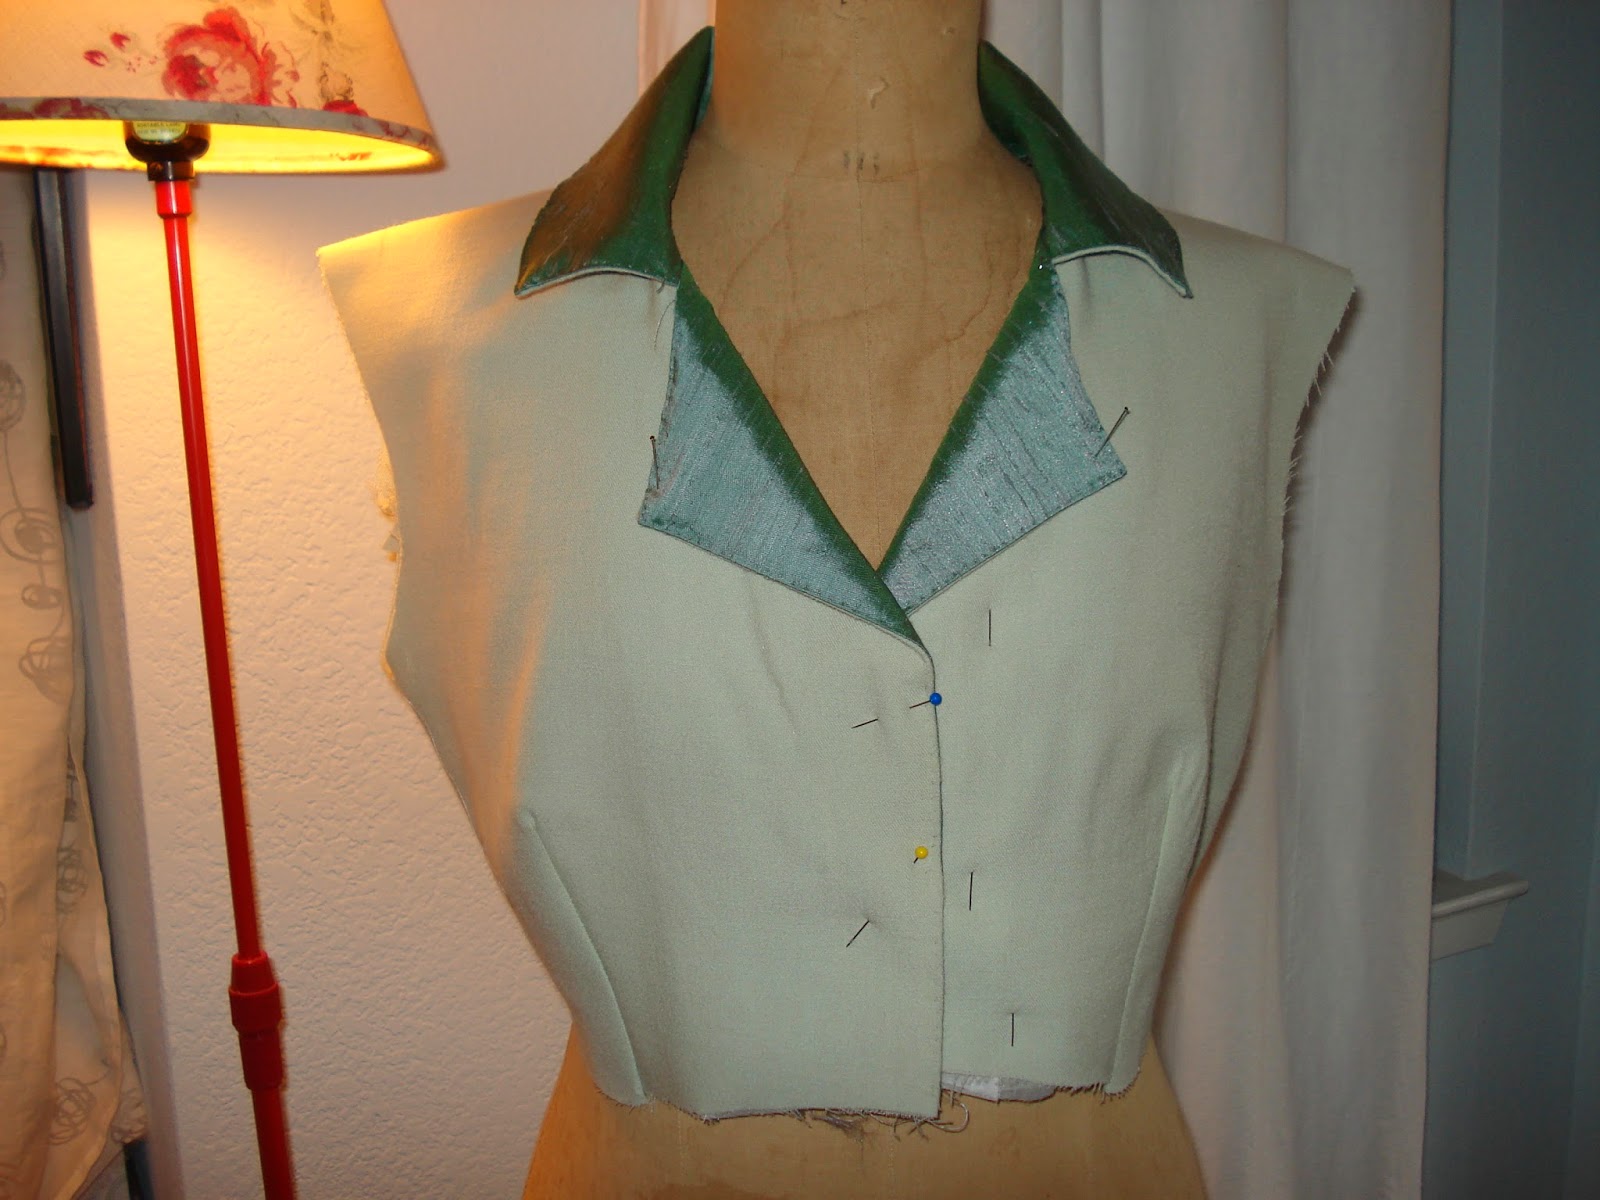
The fabrics I chose to use are a pale celadon, light weight wool with a blue-green shot silk for the detailing. I began with the La Mode Bagatelle spencer pattern to start with and altered it to eliminate the princess-seam front and put in a bust dart. I also crafted a lapel and collar using, albeit a modern, how-to book from the late 1940's.
 |
| I had to drape the collar - which I like to do. |
I have not been rushing through this project, which feels really good! The main construction or seams are done by machine but, I am doing all the finishing and detailing by hand. For example, I used the prick-stitch to attach the contrast fabric to the lapels and the collar which is a period method of hand sewing and top-stitching at the same time.

I managed, this week, to get the sleeves cut out and sewn in as well. I had to make some adjustments as the shoulders, for whatever reason, needed taking in as they extended over my shoulder point. I had a fitting and it was fine. I think after the fitting of the mock up I forgot to take off the excess. Anyway, with a few stitch, unstitch and restitch moments, I got the sleeves in where I like them. (Note on the pictures below: The mannequin I am using has no bust at all but almost matches my shoulder width and waist length - it is a vintage piece - so, I am using it as my staging and quick check mannequin. If the bodice looks long that is why).
 |
Not the best shot of this but I am loving what I have so far!
|
Before I attach the skirt and line the bodice I want to do the buttonholes and buttons. I think that will be easier while there isn't so much fabric from the skirt to manipulate as I sew. I plan to do the buttonholes by hand and create fabric covered buttons using period methods. I checked in with my hive-mind on hand sewing and all recommended that I practice first! So, I have! In the past I have always used a machine or I made bound buttonholes. My latest machine is not good at making consistent buttonholes and bound buttonholes are not period, as far as I know. To practice, I did two: one with the picot edge at the inner edge and one on the outer edge of the buttonhole to see which I liked better. I think the first is more period.
 |
| With the picot on the outer edge. |
 |
| Picot on the inner edge...more period. |
 |
| Another image of both... |
Next up:
Try on with corset/garment on and make adjustments.
Buttonholes, cover the buttons and attach.
Make contrasting cuffs and attach to the sleeves.
Cut and construct skirts - line them and attach.
Line the bodice by hand.
Do all finishing (hemming, etc) by hand.


2 comments:
Beautiful colors! I'm sure it will be be gorgeous when it's done. Looking forward to seeing more.
Best,
Quinn
Good job draping that collar! And the contrast facings are beautiful. Looking forward to seeing it completed! ;)
Post a Comment